
King AI
King AI Video Generator & Image Creation
Turn a written scene into video, animate a starting image, or guide a new image with visual references. Explore the King AI workflow, then create images and videos on Kling3.io with the controls below.

Choose an image or a moving scene
The right format depends on what must stay fixed and what must change over time.
King AI image creation
Settle subject placement, material, color, and lighting in one frame before introducing a campaign layout or video movement.
- Use words for a new composition; add a reference when appearance needs a visual anchor.
- State framing and light direction, then select the available model and aspect-ratio controls.
- Inspect edges, hands, reflections, and product details at full size before choosing an image.
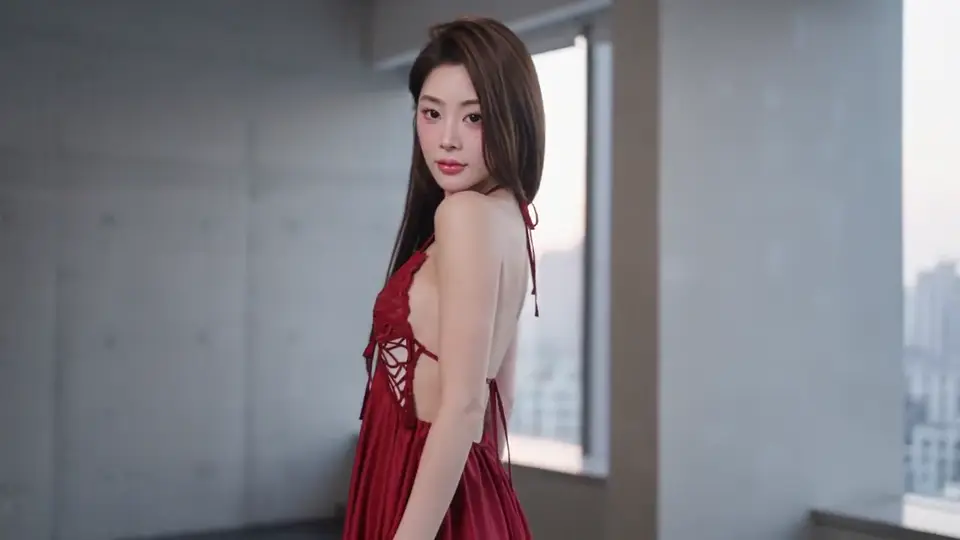
King AI video generation
Build a shot with a beginning, change, and ending. Choose whether words, keyframes, or references should guide the scene.
- Use Text for words, Keyframes for a defined opening or ending, and References for supported guiding files.
- Give the subject one action and the camera one direction; review available duration and frame shape.
- Watch the complete shot for subject drift, abrupt movement, and the ending before downloading.
Four briefs with concrete visual direction
These concept images show how a brief can specify framing, materials, light, and a single visual priority.
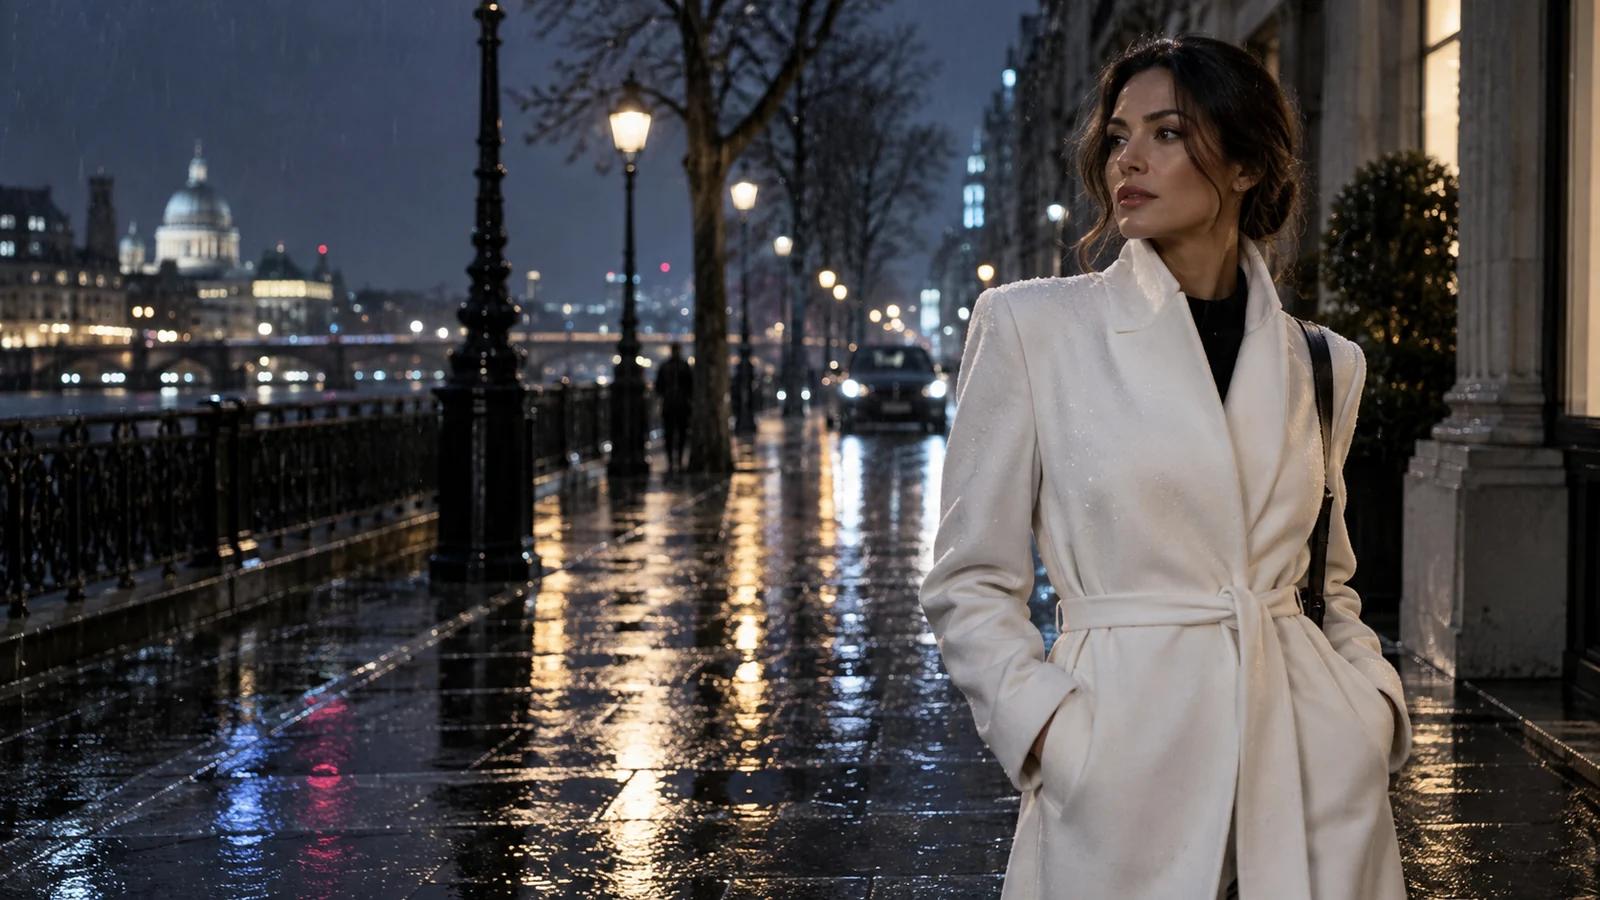
Night city editorial
A white coat separates the adult subject from warm shop reflections. Use medium-wide framing; for video, add a measured walk and gentle tracking move.
Product composition
Soft side light reveals clear-glass edges against dark stone. Keep the bottle still for video and direct one slow camera slide across the surface.
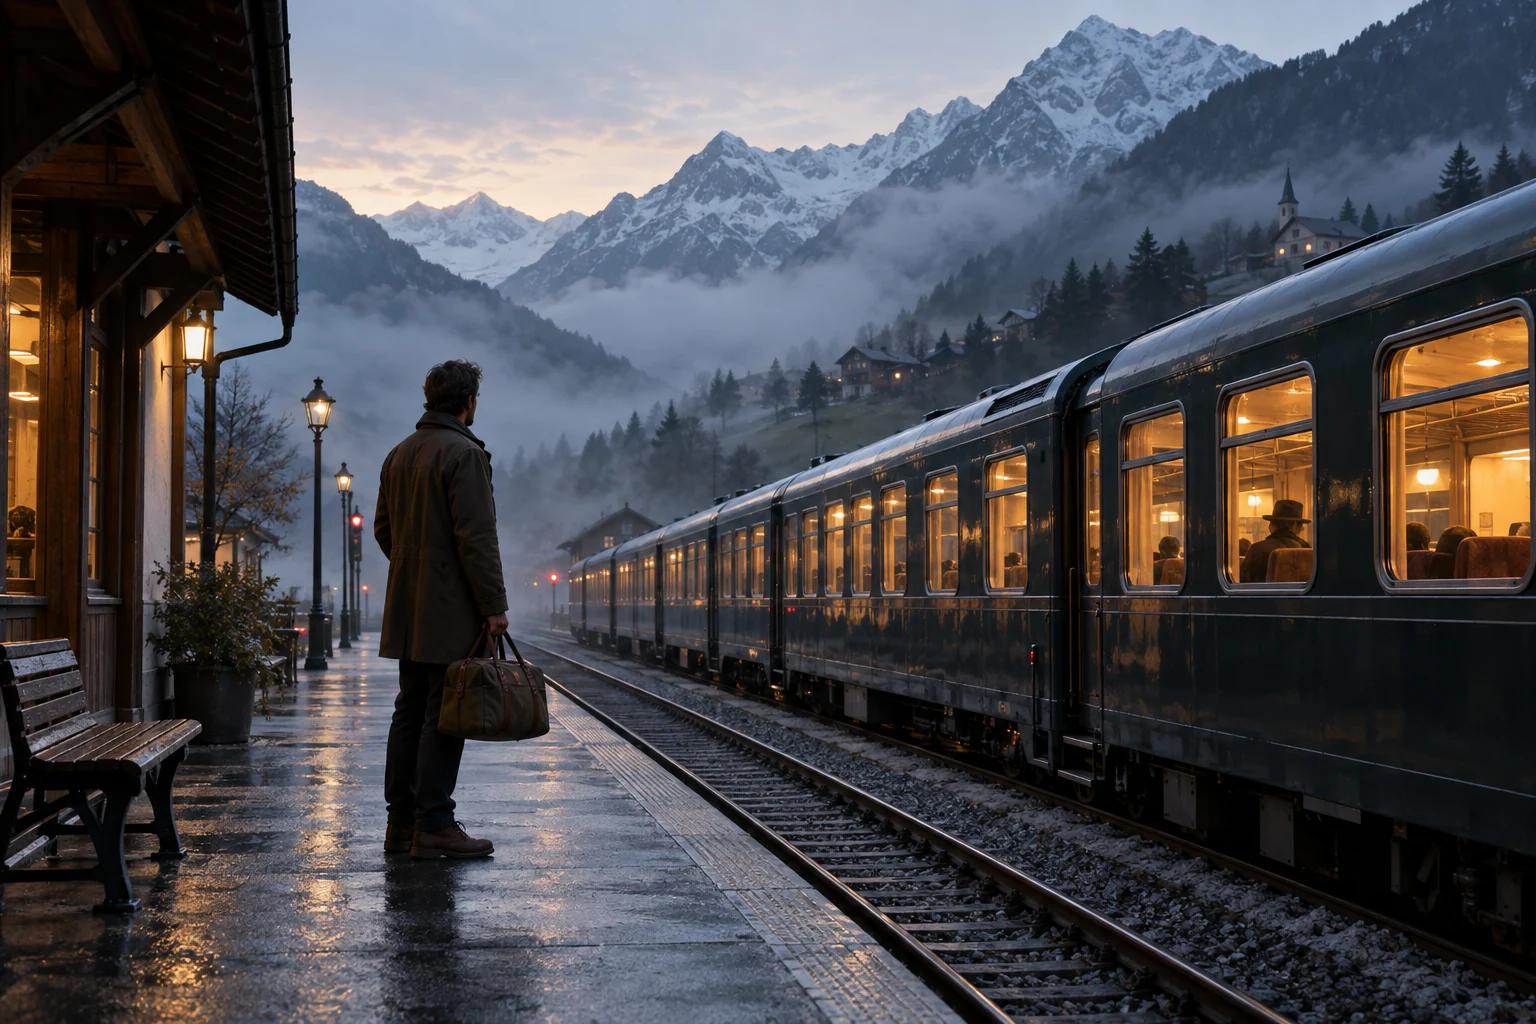
Story opening
The adult traveler, platform, and mountain mist establish the opening. For video, hold the camera still while the traveler turns toward the tracks.
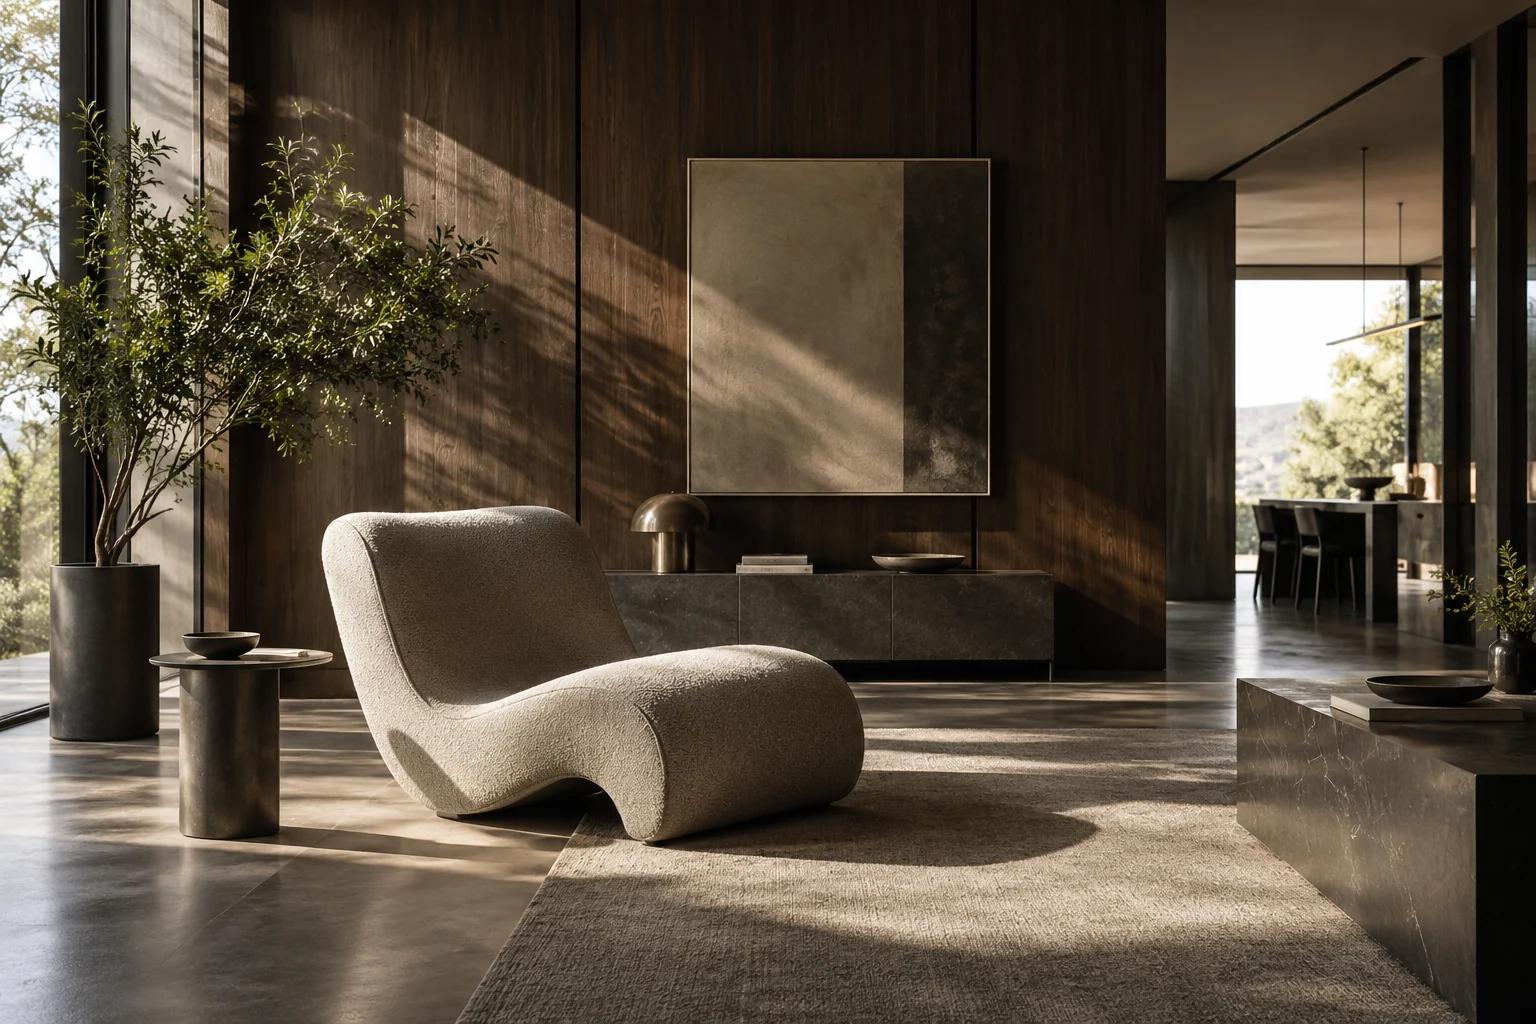
Interior study
Dark wood, chrome, and a curved chair create a material hierarchy. Window light explains the shadows; a slow forward camera move keeps the architecture readable.
What is King AI?
King AI brings image, video and audio tools into a multi-model creative studio.
A workspace organizes tools and results; the selected model determines supported references, dimensions, and motion controls. Choose the task first and read its controls instead of assuming every option works with every model.
Use an image to settle a campaign composition, product detail, story frame, or interior study. Use video when time carries the idea: a street walk, product reveal, or camera move. Approving a still first leaves fewer visual decisions for the video prompt.
The image workflow starts with text or a reference. The video workflow separates Text, Keyframes, and References: a fixed opening image and a general appearance reference have different roles. Audio belongs to the broader King AI studio; this guide focuses on the visual tools available here.
To turn your King AI concept into a moving scene, explore the Kling 4.0 AI video generator and start with text or an image.
Compare four creation workflows
Choose by the information you already have. More input is helpful only when its purpose is clear.
| Goal | Starting input | What to direct | What to review |
|---|---|---|---|
| Text-to-image | A written subject and scene brief | Framing, light, materials, model and aspect ratio | One composed image; inspect detail and placement |
| Reference-guided image | A reference image plus a change request | What stays, what changes, and the target composition | A new image; compare the intended reference details |
| Text-to-video | An opening scene, action, and ending in words | Subject action, camera direction and available duration | A moving shot; check motion and subject continuity |
| Keyframes or video references | Opening/ending frames or supported reference files | Motion between frames or the role of each reference | A guided shot; check opening, movement, and ending |
Four decisions that shape the result
Pick the input that gives you control over the part of the scene that matters.
Text-to-image and reference-guided images
Text leaves the composition open; a reference anchors shape, palette, or framing. Specify preservation and change separately, such as keeping a bottle silhouette while replacing its background. Check the selected image controls before uploading.
Text-to-video and image-to-video
Words let the model establish the scene; a keyframe settles its opening composition. Describe what changes next: one subject action, one camera direction, and an ending. Avoid restating every detail already visible in the image.
Distinct roles for keyframes and references
A first frame anchors the beginning; an optional last frame targets the ending. References guide supported appearance, motion, or audio characteristics without necessarily fixing the opening. Choose the mode that matches each file’s role.
Review, revise, and keep useful results
Check subject, framing, material, and motion separately. If the camera movement is wrong, preserve successful subject and lighting instructions while changing that clause. Compare the revision and download the version that fits its placement.
Match the workflow to the deliverable
Set the placement and review criteria before generating variations.
Social openings
Keep the subject readable on a small screen and choose a matching frame shape. Settle the cover image first when it matters; animate one action for movement.
Product and campaign concepts
Guide the product shape with references and inspect reflections and detail. Approve the key visual before a camera reveal; the product must remain recognizable.
Story frames and scene planning
Establish location and atmosphere in a wide image. Use Keyframes to continue that opening, or Text to explore different staging.
Write a prompt with a clear hierarchy
Put subject and deliverable first. Separate visible details from movement, and keep essential constraints short.
Subject + setting + framing + light and material + action and camera for video + important constraints
1. Subject and scene
Identify one subject and setting. “An unbranded glass bottle on dark stone” supplies a clearer target than unrelated moods. Add details only when they change what appears.
2. Framing and light
Name a close-up, medium-wide shot, or eye-level view, then identify the light source and direction. Avoid contradictory lighting instructions that make the result difficult to judge.
3. Action and camera
Separate subject action from camera action: the traveler turns while the camera holds still. Keep a second story-changing action for another shot.
4. Preservation and constraints
Name what stays and what changes with references. Keep constraints specific: stable bottle shape, natural skin texture, or no readable text. Revise the failing clause first.
Image brief: material and composition
An unbranded clear-glass perfume bottle on charcoal stone, close three-quarter view, soft right-side light, thin edge highlights, dark quiet background, precise glass texture, no text or logo.
Subject, surface, angle, and light form one composition. Material terms direct attention to transparency and edges instead of a vague “premium” style.
Video brief: one action, one camera move
An adult woman in a white coat walks slowly along a rain-soaked street at night. The camera tracks beside her at a steady medium-wide distance; warm shop lights reflect on the pavement. Keep her appearance and coat consistent; finish with her paused beside a lit window.
Action, camera, lighting, and ending have distinct roles. With a matching first frame, revise the walk or tracking speed while preserving the established scene.
Create and review in three steps
Give each task a specific input, objective, and review test.
- 1
Choose the format and input
Open Image or Video and choose text, keyframes, or references as appropriate. Read the model’s controls before preparing files.
- 2
Build one coherent brief
Write subject, setting, framing, and light. For video, add action, camera, and ending. Complete uploads and check settings and credit cost.
- 3
Inspect, revise, and download
Inspect image detail or watch the whole video. Change the weakest instruction while preserving successful details, then download the completed result.
Fix the specific problem first
A targeted revision is easier to compare than a completely new prompt.
The subject or product changes
Use one subject and a clearer supported reference. State which silhouette, colors, or clothing should stay; avoid requesting material changes and appearance preservation in the same clause.
The motion is busy or unstable
Reduce the shot to one action and one camera direction. Try an ending composition closer to the first frame, and check whether the transition fits the chosen duration.
The result misses the intended crop
Check aspect ratio and name the framing. Leave space around important edges; close-ups and wide architectural views need different subject placement.
Upload or generation fails
Read the error, then check file type and limits, required inputs, settings, and credits. Correct the indicated field instead of resubmitting the same failing task.
Use the browser workflow on your device
Prepare a prompt and supported files, then sign in before submitting. On mobile, finish uploads first and reopen the result to inspect detail. Review the selected task’s displayed credit cost; settings affect availability and cost.
King AI video and image questions
Practical answers about inputs, workflow choices, and results.
King AI is a multi-model creative studio for images, video, and audio. The workspace organizes tools; the selected model determines a task’s inputs and settings.
Start from words, an opening image, or supported references. Describe one action, one camera direction, and an ending; review the complete shot after generation.
Name subject, setting, framing, light, and material. With a reference, explain preservation and change separately, then inspect the image at full size.
Use Video and Keyframes with a supported first-frame image. Describe subsequent movement; add a last frame only when an ending target is needed and supported.
Keyframes anchor the beginning or ending. References guide supported appearance, motion, or audio without necessarily fixing the first frame; assign each file a clear role.
King AI’s broader studio includes audio. This page focuses on images and video; use only the audio controls or references offered by the selected video model.
Check the credit cost shown for the selected model and settings before submission. Review your balance and the pricing page for current account options.
Open the browser workflow, prepare your prompt or supported file, and finish uploads before submitting. Inspect the downloaded result at its intended size.
Read the task’s message for file, input, settings, or account issues and correct the cause. For completed but unsatisfactory results, revise the specific visual instruction.
Use the completed result’s download control. Check crop, detail, and full video motion; keep the prompt when you want to revise or reproduce the idea.
Explore the tool behind the next step
Study a focused model workflow or review account options before expanding the project.
Seedream 5.0 Pro image workflow
Explore image generation and reference-guided composition for product details, still-frame design, or a video’s opening image.
Wan 3.0 video workflow
Explore Text, Keyframes, and References for movement, guided openings, and supported video inputs.
Plans and credits
Review current plans and credit information, then check the selected task’s displayed cost.
Choose the input, then direct the result
Start with a composed image or a single moving shot. Use a reference only when it gives a detail a clear visual anchor.