From reference to moving scene
Kling O4 AI Video Generator
Turn images and ideas into cinematic scenes.
Create Kling O4 videos from text or reference images. Shape the subject, action and camera, then refine your next take in one workspace.




Your videos


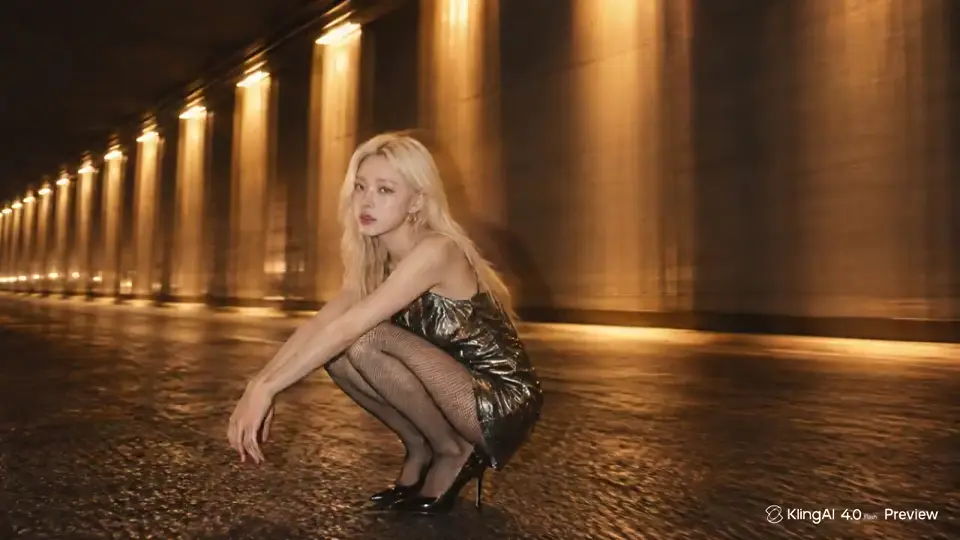

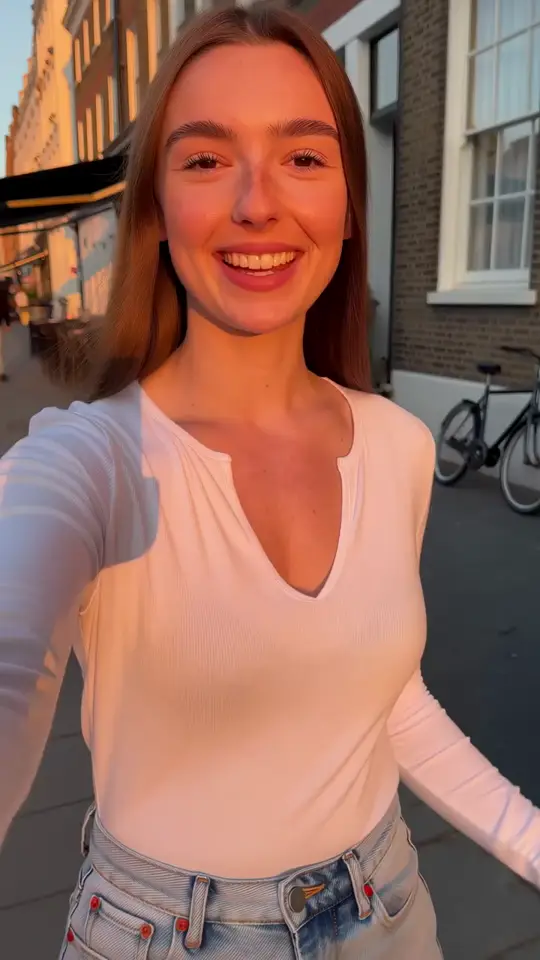
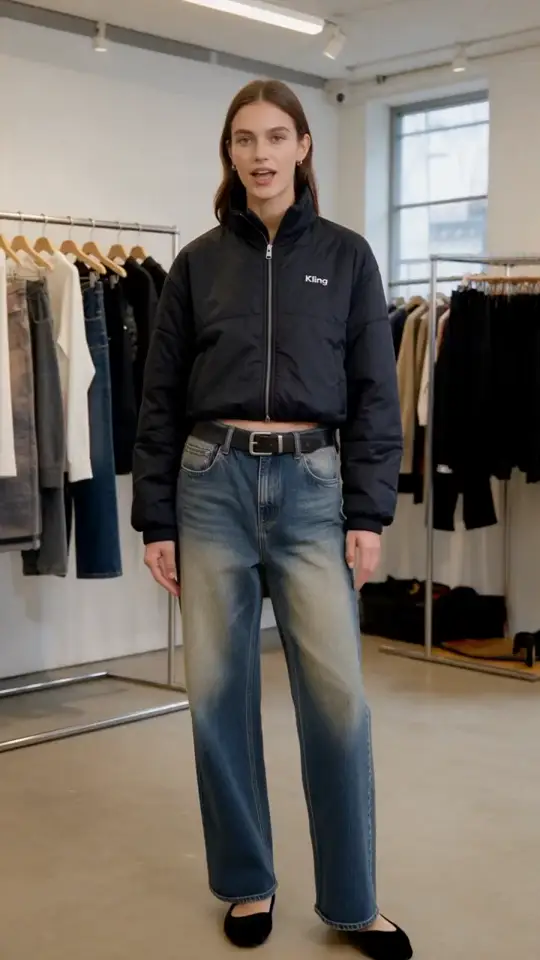


Kling O4: a clearer brief, a better shot
Turn a character, product or visual idea into a moving scene. In this Kling O4 workspace, start with your subject, plan the shot and test a focused brief using an available video engine.
Start your Kling O4 scene with the element that matters most. A product reveal needs stable shape and materials; a character scene needs a recognizable face and a readable action. A cinematic concept needs a clear setting, camera path and ending. Those decisions are more useful than a long list of adjectives.
For a wider view of the available workflows, compare the Kling 4 video workspace with the reference-oriented options in Kling O3 as you refine your Kling O4 brief. The Kling 4.0 guide helps you translate a creative idea into a shot plan before you spend credits on variations.
Prepare your visual references for Kling O4
A useful Kling O4 reference answers a specific visual question. Choose a clear starting image, then use the prompt to explain the change you want.
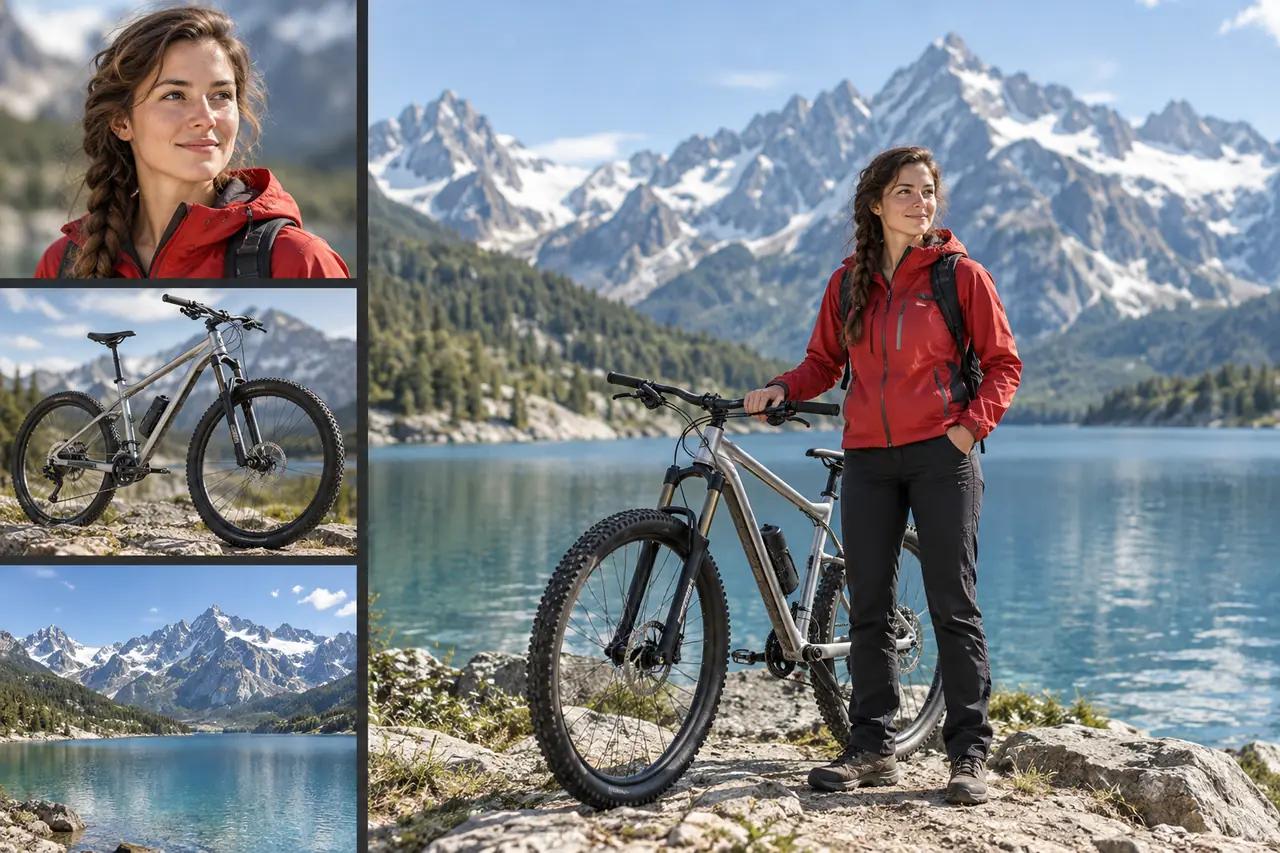
Subject identity in Kling O4
Prepare your Kling O4 starting image with the face, clothing or product features clearly visible. Avoid a source image where the important detail is cropped, hidden or too small to read.
Frame your Kling O4 composition
Choose a frame close to the Kling O4 shot you want. Leave room for the planned movement and name the environment only when it adds something the image does not already show.
Direct Kling O4 motion and camera
Describe movement separately from the subject in your Kling O4 brief. A slow camera push, a quarter-turn of the product and a change in lighting are different instructions; begin with one main action.
Keep Kling O4 details consistent
Specify the feature you want to protect in your Kling O4 scene, such as the coat color or lens shape. Review the result rather than assuming every detail will remain unchanged.
If your Kling O4 brief needs a precise performance or body movement more than a particular scene appearance, compare the options in Motion Control AI. Upload only the input types shown by your selected engine; the controls on this page determine which materials it can accept.
Three Kling O4 scene briefs to try
Use these Kling O4 scene concepts as starting points. Keep the core action, then change the subject, setting or camera to suit your project.
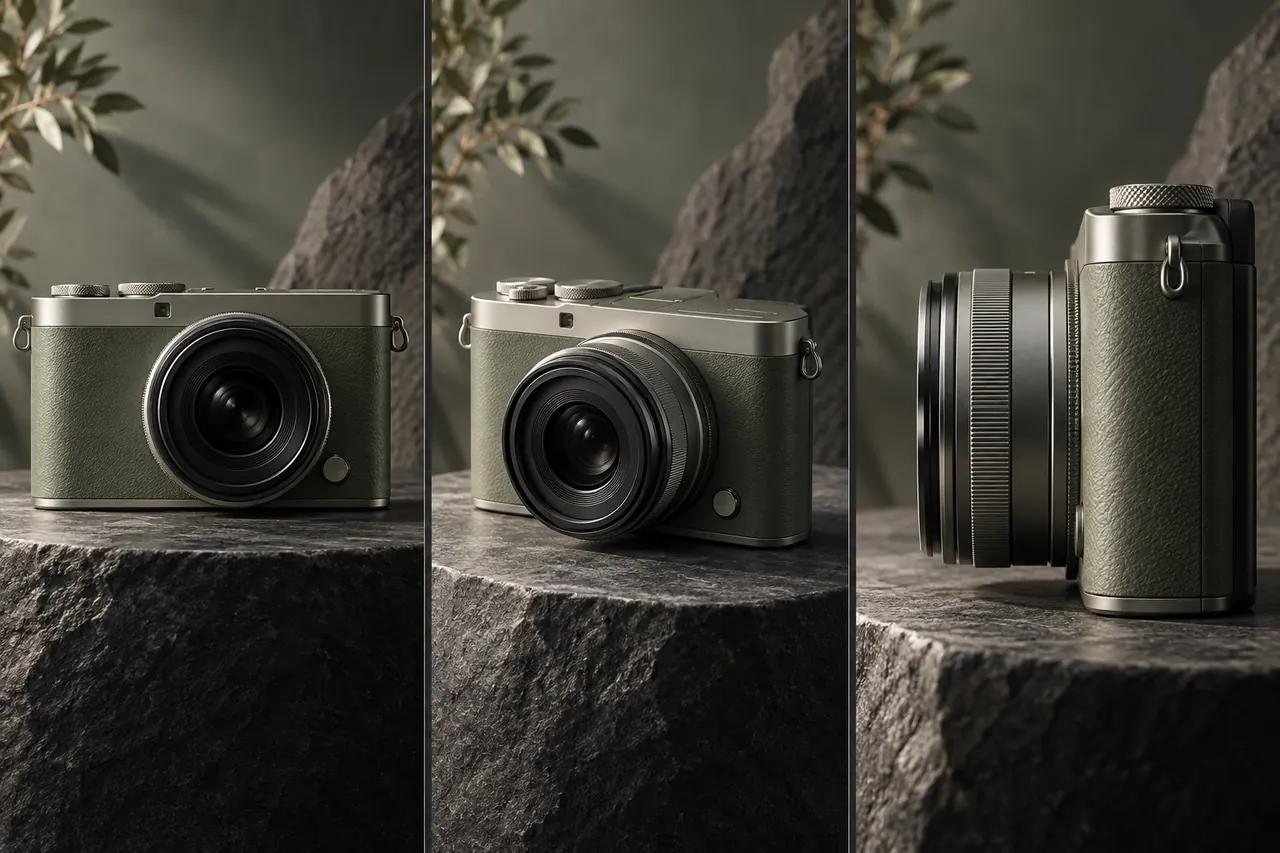
Reveal the object, keep its shape
Build your Kling O4 product shot around a controlled camera move. Give the object one simple action and avoid changing the background, materials and lighting all at once.
Check the result forStable Kling O4 product geometry: lens shape, clean edges, consistent materials and a smooth camera path.
Kling O4 scene brief
A matte sage-green compact camera rests on a dark stone pedestal. Begin with a three-quarter product view. The camera slowly pushes closer as soft window light reveals the brushed silver controls. Keep the camera body and lens shape consistent. Finish on a steady close-up.
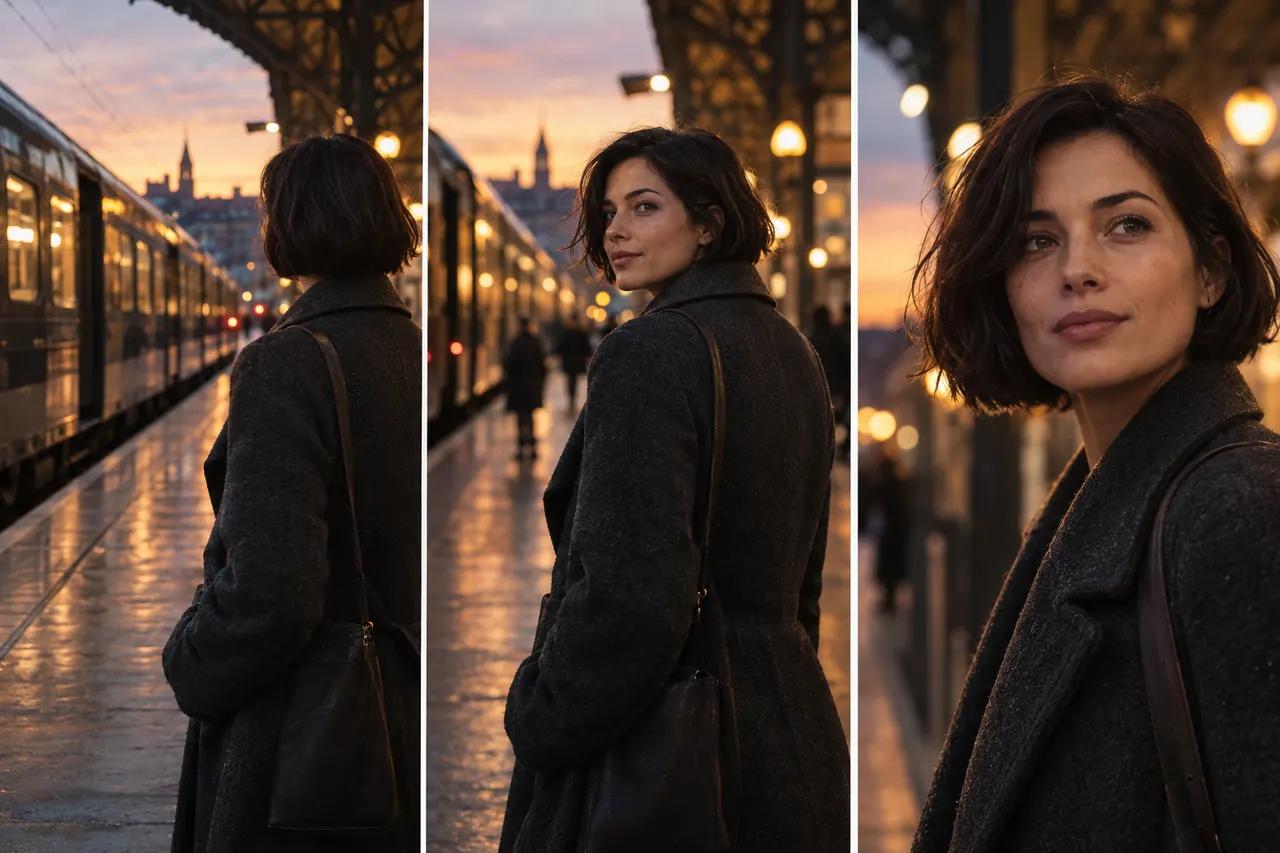
Make one gesture carry the scene
For a recurring character in Kling O4, begin with an uncluttered image and a short action. The viewer should be able to recognize the person before the camera or background becomes busy.
Check the result forRecognizable Kling O4 character details: face continuity, coat appearance, natural head movement and the final pose.
Kling O4 scene brief
A woman with a short dark bob in a charcoal wool coat stands in a modern train station at dusk. She turns towards the camera and pauses with a calm expression as a train departs behind her. Hold a medium shot with warm station light. Keep her face and coat consistent; end with her looking just past the lens.
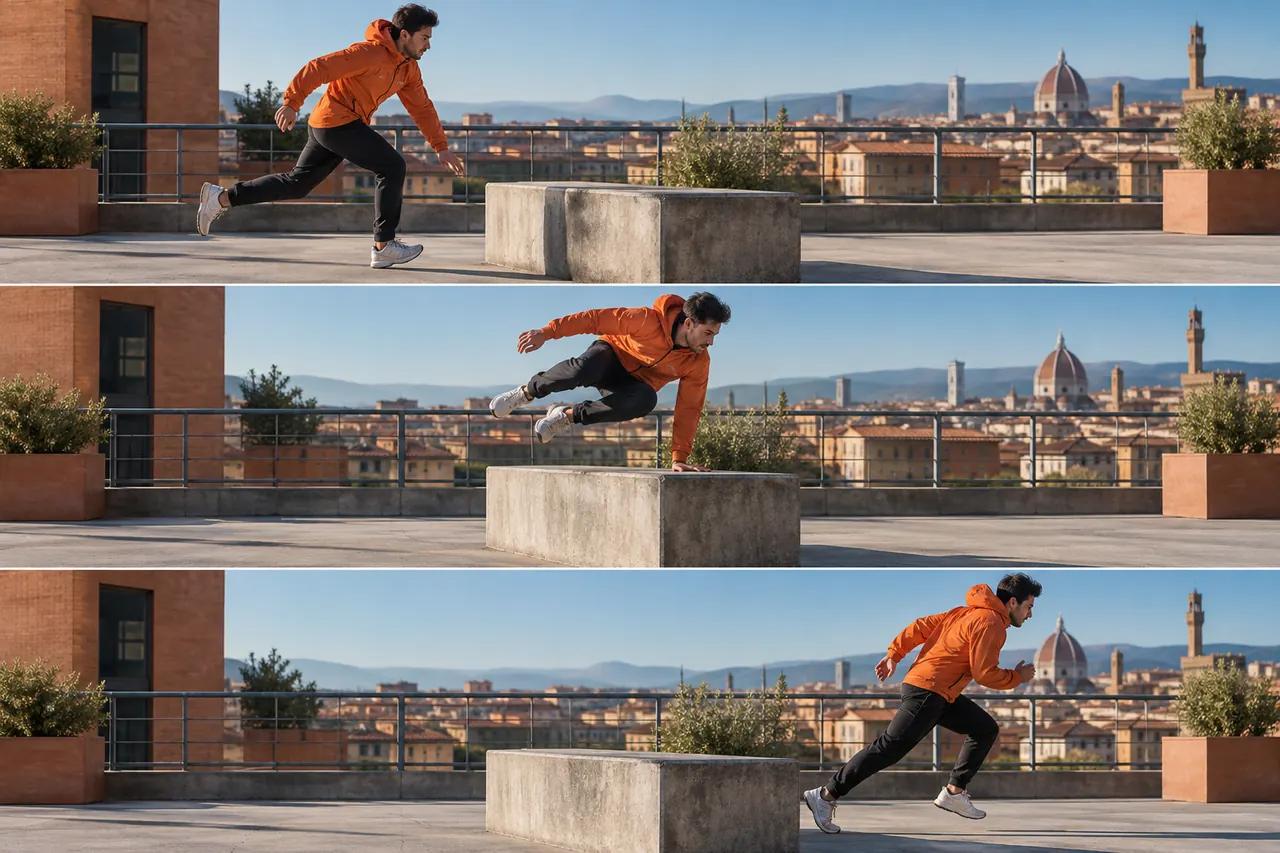
Keep fast action readable
Keep your Kling O4 motion test to one athletic movement with a clear direction and a stable camera. A readable approach, body contact and landing let you judge motion before adding another action or changing the scene.
Check the result forReadable Kling O4 action: body mechanics, hand contact, direction of travel and a grounded landing.
Kling O4 scene brief
An athletic adult in an orange jacket runs across a sunlit urban rooftop and vaults one low concrete obstacle. Use a steady side-tracking shot. Keep the body movement natural, show the hand making contact and follow through to a clean landing. Keep the skyline and lighting consistent.
How to write a Kling O4 scene prompt
Use your Kling O4 prompt to describe action, timing and camera behavior when the image already establishes the scene. For text to video, add the subject and setting first.
A woman in a charcoal coat turns towards camera in a train station. Hold a medium shot, keep the movement subtle, then finish on a still expression.
- Subject
- A woman in a charcoal coat
- Action
- turns towards camera
- Setting
- in a train station
- Camera
- hold a medium shot
- Ending
- finish on a still expression
Change one instruction between Kling O4 attempts. If the framing works but the action does not, revise the action before rewriting the whole brief. The Kling 4.0 Flash workflow is a useful comparison when you are planning several variations of the same scene.
Choose your Kling O4 workflow
Keep your Kling O4 creative brief consistent when comparing tools. A reference-driven scene, a broader video project and a quick concept pass ask for different controls.
Kling O4 character and object briefs
Compare your Kling O4 brief with Kling O3 to explore a workflow centered on visual references. Check the inputs and controls available there, then compare the identity of your subject across results.
Expand a Kling O4 shot into a project
When a Kling O4 scene becomes part of a wider project, the Kling 4 creation page brings the main workspace and feature overview together. Use the Kling 4.0 guide for shot structure, references and the choices behind a stronger prompt.
Compare Kling O4 scene directions
Compare your Kling O4 scene plan with Kling 4.0 Flash when the next decision is which idea to develop. Keep the subject fixed and vary the camera, atmosphere or action so that your results are easier to compare.
How to create a video with Kling O4
Treat each Kling O4 generation as a small creative test. Decide what success looks like before you create the next variation.
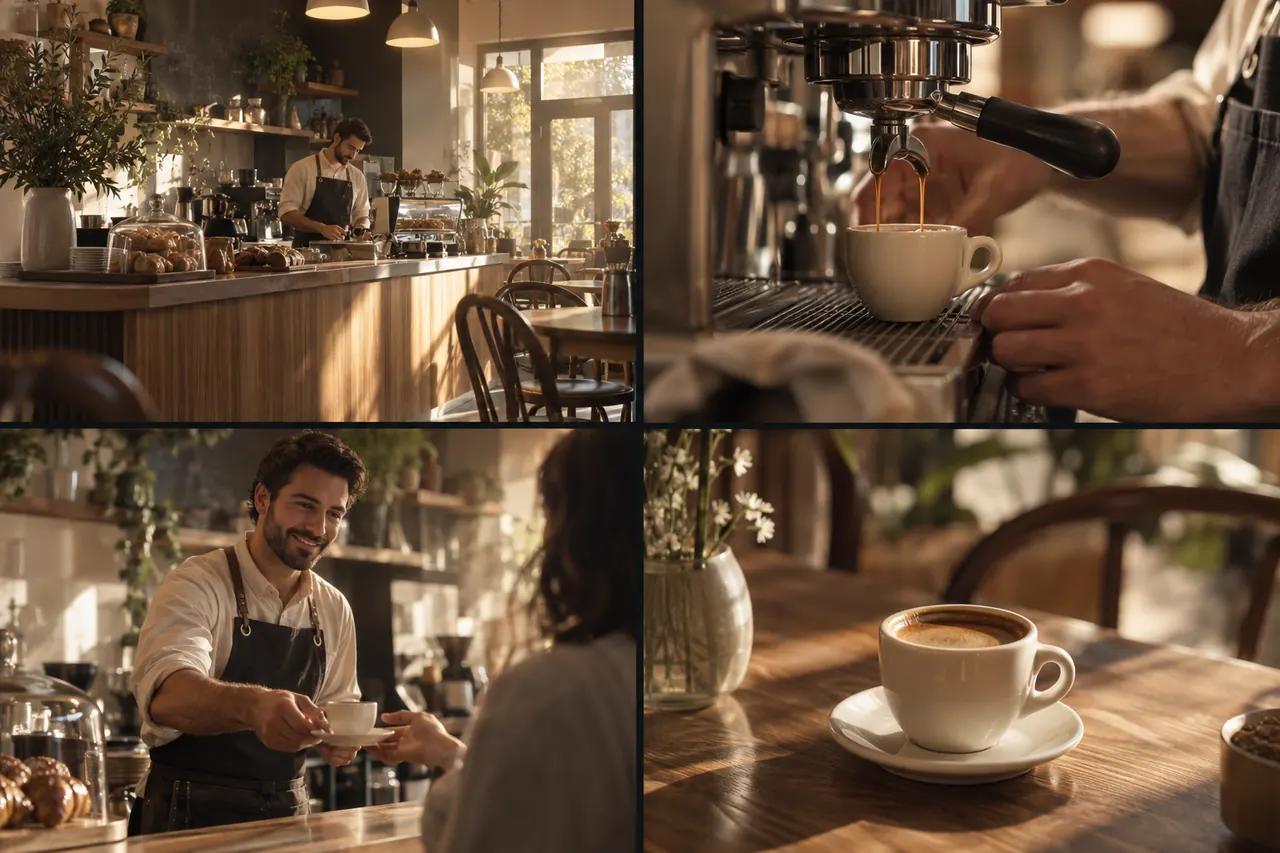
Choose one outcome
Define the goal of your Kling O4 video in one sentence: reveal a product, introduce a character or establish a place. Select the available engine and check its settings before adding your material.
Prepare the starting material
For Kling O4 image-to-video, choose a clean image with a readable subject. For text-to-video, describe the subject and setting. Check the crop and remove conflicting visual instructions from your brief.
Direct the scene
Give your Kling O4 scene a main action, camera behavior and ending. Set the duration, aspect ratio and other controls offered by the engine. Read the displayed credit cost before creating.
Review, then change one thing
Review your Kling O4 video from beginning to end. Compare subject identity, motion and framing against your goal. Keep the successful parts and change one instruction for the next take.
Kling O4 settings and credits
Model and output settings
The Kling O4 workspace offers Seedance 2.0 Mini for quick drafts and Wan 3.0 for the scene-controls mode. The selected engine determines the accepted inputs and output options. Check its panel to choose the controls that fit your shot.
Credits and your account
The Kling O4 workspace shows the credit cost for your chosen settings. Sign in to submit a task and follow its progress; if you need more credits, compare the options on the pricing page. Cost can change when you change the engine or output settings.
View plans and creditsKling O4 questions, answered
Give your next Kling O4 scene a clear direction.
Choose your starting image or describe a Kling O4 shot, then give it an action and an ending.